
So, you're thinking about installing a dishwasher, and the idea of doing it yourself has crossed your mind. Good news: it's more doable than you might think! Whether you're looking to save money or just enjoy a bit of DIY satisfaction, with the right guidance, you can have your dishwasher up and running in no time.
Why would you even want to give it a shot yourself? Well, besides the obvious cost savings, it gives you that sweet sense of accomplishment. Plus, you'll learn a thing or two about plumbing and home maintenance along the way. If you're up for the challenge, roll up your sleeves—we've got you covered right from choosing the right spot to those final touches to ensure everything runs smoothly. Ready to dive in?
- Why Consider Installing a Dishwasher Yourself?
- Tools and Equipment Needed
- Step-by-Step Installation Process
- Common Challenges and How to Avoid Them
- Pro Tips for a Smooth DIY Experience
Why Consider Installing a Dishwasher Yourself?
First off, if you're eyeing an affordable dishwasher, you probably want to keep the overall cost as low as possible, right? Hiring a professional to install it can tack on a hefty fee. Doing it yourself saves you that cash straight off the bat. At the end of the day, it’s all about keeping the pounds in your pocket.
Beyond cost, there's a ton of satisfaction in getting the job done with your own two hands. Imagine the sense of achievement you’ll feel when you load up that first round of dishes and press start, all thanks to your handiwork. It's a big confidence boost indeed.
Learning New Skills
Installing a dishwasher isn't just about saving money—it’s an opportunity to learn new skills and gain some basic plumbing knowledge. Skills that might help you out down the line. You'll understand your kitchen setup a bit better, which could come in handy for future DIY projects.
Flexibility and Time
Having the freedom to install your dishwasher at your convenience is another winner. No more scheduling conflicts with a pro installer or waiting around during those 'between 9 and 5' time windows. You can do it whenever your schedule allows—on a lazy Sunday afternoon or a weekday evening.
Custom Setup
Doing it yourself means you can ensure everything is set just the way you want. Maybe you’ve got a specific spot in mind in the kitchen, or you want to make sure all your connections are tightly secured. Custom setups are more achievable when you're steering the ship.
So, if you're ready to roll up your sleeves and get on with it, you'll be joining the ranks of the many proud DIY'ers who decided to install a dishwasher themselves. It's easier than you think, and the payoff is a perfectly functioning appliance you installed without breaking the bank or a sweat!
Tools and Equipment Needed
Alright, let's get started by making sure you've got everything you need to tackle this project confidently. The last thing you want is to get halfway through and realize you're missing a key component.
Basic Tools
First off, you'll want to gather some basic tools that are essential for any DIY dishwasher installation:
- Screwdriver Set: Both flat-head and Phillips screwdrivers are a must-have for securing screws and bolts.
- Adjustable Wrench: This is perfect for tightening or loosening plumbing connections.
- Tape Measure: Accurate measurements ensure your dishwasher fits snugly in its new home.
Plumbing Supplies
Plumbing is a big part of this job. You might need:
- Tube Cutter: If your water line needs adjusting, this will be your best friend.
- Teflon Tape: A handy roll of this tape will help you seal pipe threads and prevent leaks.
- Plumbers Tape: It's great for securing connections, reducing the risk of any drips or leaks.
Electrical Supplies
Don't forget about the electrical side of things. To safely connect your dishwasher, grab:
- Voltage Tester: It's important to make sure there is no live current before beginning any electrical work.
- Wire Nuts: These are used for connecting wires securely. You don't want anything coming loose.
Hardware and Accessories
Sometimes, a few extra pieces can come in handy:
- Brackets and Screws: These are used to secure the dishwasher to the cabinetry to prevent tipping.
- Dishwasher Supply Line: Ensure you have a proper line for connecting water to your dishwasher. If you're replacing an existing appliance, you might be able to reuse your old one, but it's always nice to have a backup.
- Level: An important tool to ensure your dishwasher is sitting straight, which helps it work efficiently and avoid any leakage.
Equipped with these tools and supplies, you'll be ready to kick off your dishwasher installation with confidence. As they say, preparation is half the battle, and with this checklist, you're well on your way to a successful project.
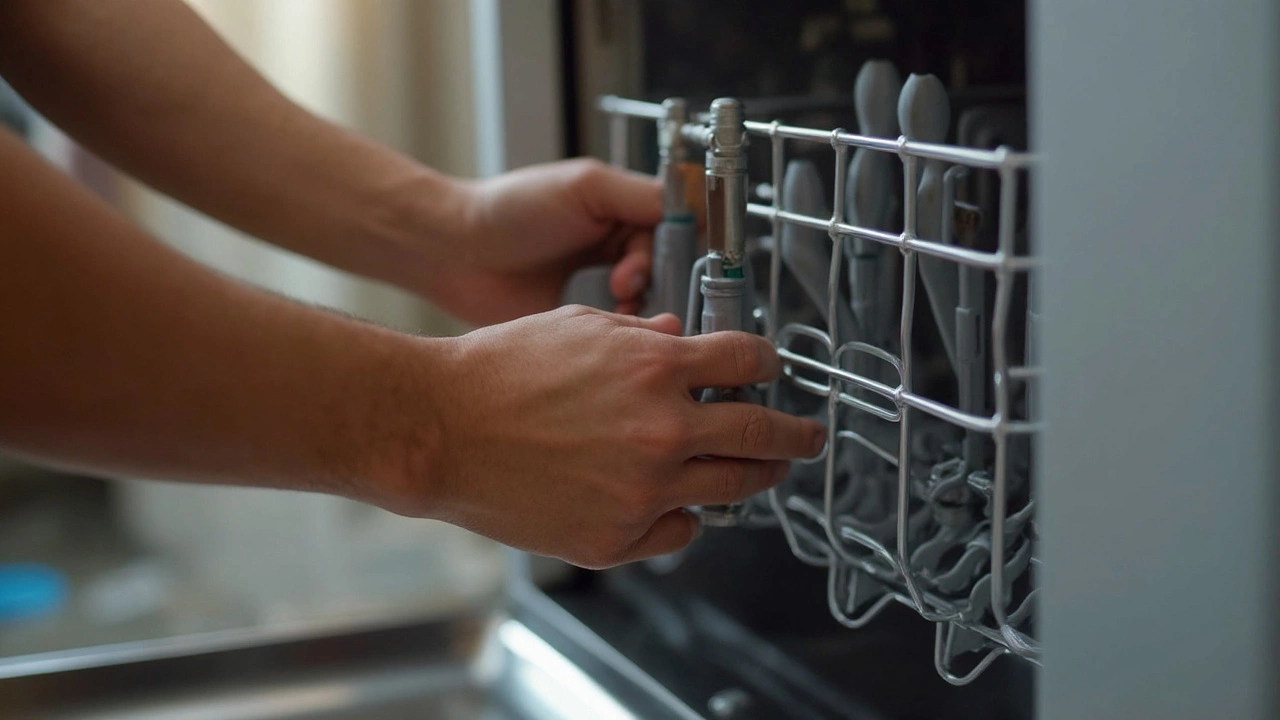
Step-by-Step Installation Process
Alright, let’s break this down so you can install that dishwasher like a pro. Grab your tools and let’s get started!
1. Find the Perfect Spot
First things first, you need to decide where your dishwasher will go. Ideally, it should be near your sink since you’ll need access to water and drainage. Make sure there's an electrical outlet nearby too.
2. Prepare the Space
Before you move a muscle, check the dimensions of your dishwasher. Most dishwashers are about 24 inches wide, but it's always smart to measure. Clear out any clutter and make sure there’s enough space for the appliance.
3. Gather Your Tools
You'll need a few essential tools to get things underway:
- Adjustable wrench
- Pliers
- Screwdriver (Phillips and flat-head)
- Drill (optional, for making holes)
4. Connecting Water Supply
Now it's time to get that water flowing. You'll need to connect the dishwasher to the hot water line. Here's how:
- Locate the hot water valve under your sink. Shut it off before you start working.
- Attach the dishwasher's supply line to the valve. You may need a special fitting, so check the dishwasher's manual.
5. Setting Up the Drainage
Next up is the drainage. You want that dirty water to go where it's supposed to!
- Connect the dishwasher's drain hose to the sink's drain system or garbage disposal.
- Use a hose clamp to secure it in place. Trust me, you don't want any leaks!
6. Wiring It Up
Almost there! Just some electrical work to do:
- Turn off power at the fuse box or circuit breaker to be safe.
- Connect the dishwasher’s wires to your home’s electrical system. Normally, this is a simple black-to-black, white-to-white, and ground connection.
7. Test Run
Finally, slide your dishwasher into its new home and double-check everything—no kinks in the hoses and no wobbling. Switch everything back on and give it a trial run. Check for leaks and make sure it’s draining properly.
And that’s it! Now you can sit back and let the machine do the dirty work. Skipping the pros for a DIY dishwasher installation not only saves money but gives you major bragging rights. Happy washing!
Common Challenges and How to Avoid Them
Alright, so you've decided to install your dishwasher yourself—awesome! But like any DIY project, there can be bumps along the road. Don't worry, we'll tackle the common hassles here and how to sidestep them like a pro.
Challenge #1: Space and Positioning
One of the most common headaches is figuring out where exactly to put your new appliance. You need to make sure there's enough space—not just for the dishwasher itself, but also for you to comfortably open its door and move around.
- Measure Twice: Before moving an inch, measure the space twice. Consider door clearance and ease of access to nearby outlets.
- Check the Floor: Ensure the floor is level, as anything slanted might affect installation and functioning.
Challenge #2: Plumbing Woes
Not everyone is a plumbing wizard, but making sure the water supply and drain are hooked up correctly is half the battle.
- Water Supply Line: Make sure the supply line isn’t kinked or tangled, as restricted water can disrupt performance.
- Drain Hookup: Properly connect the drain hose based on your setup—sink or air gap—to prevent backflow issues.
Challenge #3: Electrical Connections
If electricity's got your nerves frazzled, you're not alone. But don't sweat it; it’s simpler than it seems.
- Turn Off Power: Safety first! Make sure you turn off the power to avoid any shocks.
- Check the Outlet: Ensure the outlet can handle the dishwasher's demands. A standard 120-volt outlet is typically enough.
A good rule of thumb? If you hit a snag and aren't 100% confident, calling a professional for help is never a bad idea. But with these tips, most folks find that installing a DIY dishwasher is well within reach!

Pro Tips for a Smooth DIY Experience
So, you're ready to take the plunge and install that dishwasher yourself. To make the process as smooth as possible, I’ve gathered these pro tips that will help steer you clear of common hang-ups while getting your new kitchen bestie all set up.
Measure Twice, Install Once
Before doing anything, grab that measuring tape and double-check your space. Ensure the dishwasher will fit snugly under your countertop and that there’s sufficient room for the door to open fully. Nothing worse than realizing too late it won’t fit!
The Right Tools Make a Difference
Gather all the necessary tools before starting. You’ll typically need a drill, screwdriver, an adjustable wrench, and possibly a hacksaw for adjusting any plumbing connections. Having everything ready will save countless trips to the garage (or worse, the store).
Know Your Plumbing
Dive into the plumbing, but not without understanding the lay of the land. Know which pipes are responsible for what. While DIY dishwasher installs usually come with clear instructions, a basic knowledge of water supply can prevent soggy mishaps.
Test Before the Final Placement
Once everything is connected, run a quick test cycle. This allows you to catch any leaks or drips without the hassle of moving the machine into its final position. You’ll thank yourself for avoiding a headache later.
Don’t Skip the Instruction Manual
Every affordable dishwasher model is a little different. Spend some quality time with its manual to find any quirks or additional requirements specific to your machine. Trust me, it’s worth the read.
By following these tips, the process of installing a dishwasher can go from daunting to manageable. Remember, there’s no rush—a carefully done job is always better than a quick one. Happy installing!