Cabinet-Floor Gap Calculator
Why Proper Gaps Matter
The right expansion gap prevents flooring damage from movement, moisture buildup, and future repair headaches. This tool helps you determine the correct gap for your specific flooring type and kitchen conditions.
Recommended gap size: 0.25-0.5 inches
Moisture barrier recommendation: Essential for all kitchen flooring
When you start planning a kitchen remodel, flooring under kitchen cabinets refers to the practice of laying the floor material before the cabinets are installed instantly becomes a point of debate. You might wonder whether it saves time, looks cleaner, or protects the cabinets from moisture. The short answer is that in most cases it creates more headaches than benefits. Below we break down why contractors usually avoid this method, how to install cabinets and floors the right way, and what exceptions exist for the occasional DIY enthusiast.
How a Kitchen Is Built: The Key Players
Understanding the construction stack helps you see where problems can arise.
- Subfloor the structural layer-typically plywood or OSB-supported by joists provides the base for any flooring material.
- Moisture barrier a thin sheet of plastic or underlayment that stops floor moisture from reaching the subfloor is essential in kitchens where spills are common.
- Expansion joint a gap left around the perimeter of the floor to allow natural movement prevents buckling later on.
- Baseboard the finishing strip that covers the gap between floor and wall is installed after the floor is finished.
- Kitchen cabinets the upper and lower storage units that sit on the floor or wall studs bear a lot of weight and need a level platform.
- Cabinet toe kick the recessed area at the bottom of base cabinets that protects the legs and provides a clean look is usually trimmed after the floor is in place.
- Drywall the wall covering that meets the cabinets at the top edge should be finished before cabinets are fitted.
Why Installing Flooring First Can Backfire
flooring under kitchen cabinets sounds logical, but the practice runs into three major issues:
- Movement and expansion. All floor materials-hardwood, laminate, tile, vinyl-expand and contract with temperature and humidity. When a floor is laid across the entire room, the material needs space to move. Cabinets act like a solid barrier that locks the floor in place, creating pressure that can cause cupping in hardwood, cracking in tile grout, or popping up of click‑lock planks.
- Moisture shielding. Kitchens are high‑humidity zones. If the floor is installed beneath the cabinets, any water that seeps into the toe kick area can become trapped between the floor and cabinet base. Over time this can rot the subfloor, damage cabinet frames, and even foster mold.
- Future repairs. Should you need to replace a single cabinet, the floor underneath will likely have to be cut and resealed, adding cost and mess. The same goes for fixing a damaged tile runner or swapping flooring types later on.
These drawbacks are why most professional installers place cabinets first, then finish the floor up to the cabinet faces.
The Standard Workflow: Cabinets First, Floor Second
Here’s the typical sequence used by contractors:
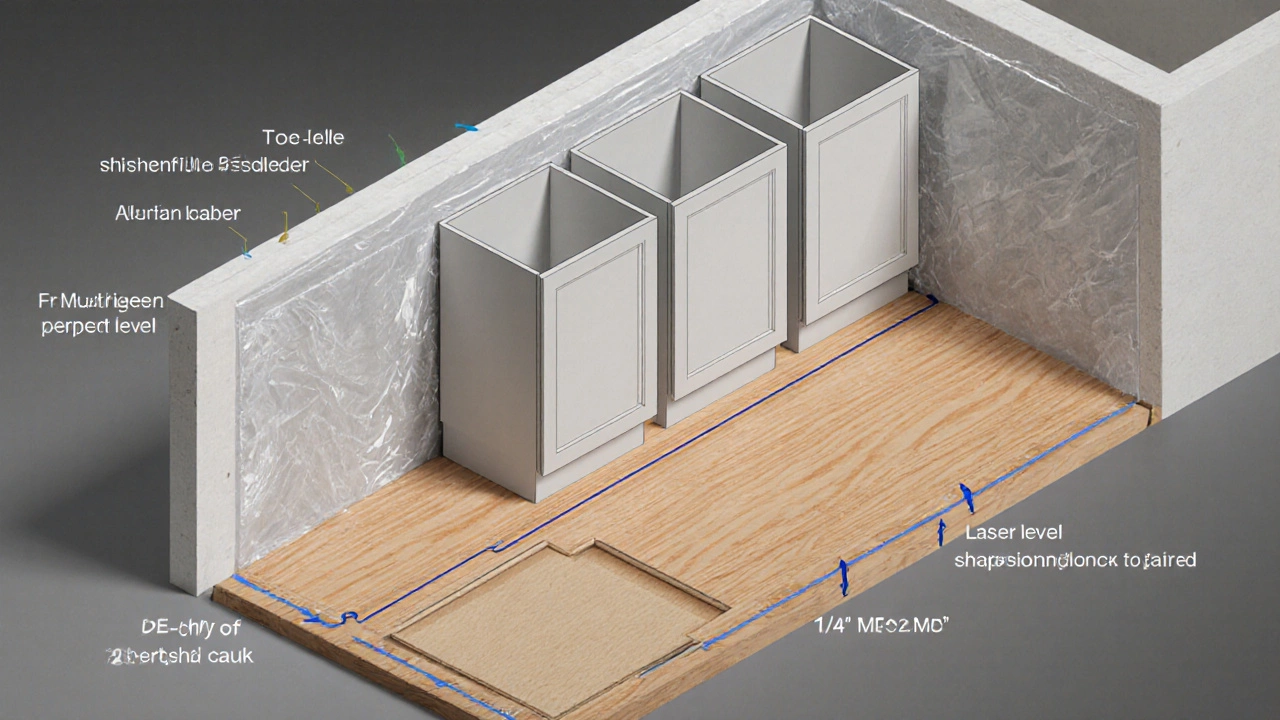
- Level the subfloor and install a moisture barrier.
- Lay out the cabinet footprint on the floor and create a layout line to ensure everything is square.
- Install the kitchen cabinets snug against the wall, using shims where needed for a level surface.
- Fit the cabinet toe kick after the floor is complete, trimming it to sit neatly against the new flooring.
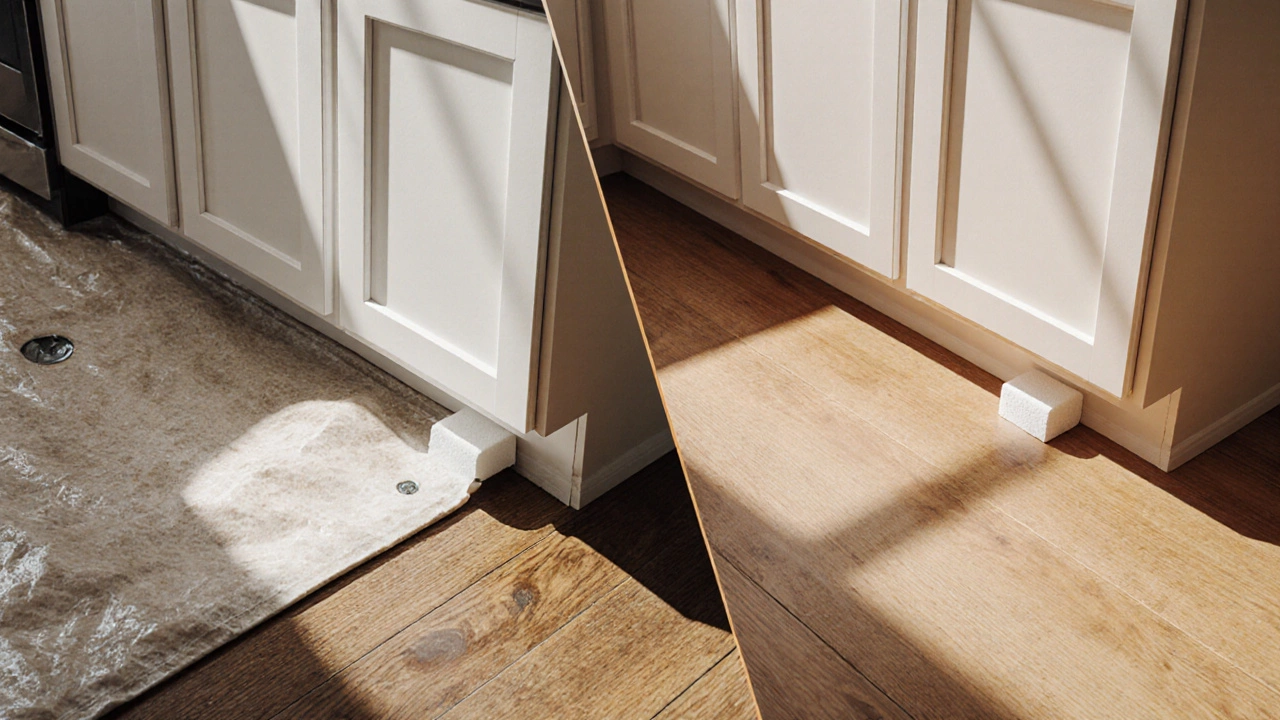
- Install the chosen floor material starting from the wall, cutting it precisely to meet the cabinet face. Use a expansion joint along the perimeter and a small gap (about ¼‑½in) between the floor and cabinet base.
- Apply silicone caulk in the gap to keep liquids out while allowing slight movement.
This method gives the floor room to breathe, makes future cabinet swaps easier, and keeps moisture from pooling where it can do damage.
When Going Under the Cabinets Might Make Sense
There are a few niche scenarios where laying floor first is acceptable, but they require extra precautions.
- Tile or stone that will be grouted tightly. If you can embed a thin backer board that extends under the cabinets and seal the joints, the risk of movement is minimal.
- Engineered hardwood with a very low expansion rating. Some manufacturers guarantee stability when installed over a fully covered subfloor.
- Renovations where cabinets are being replaced but the existing floor will stay. In this case, the floor is already there; you only need to ensure a proper underlayment and seal the new cabinets.
Even in these cases, you should still leave a slight gap between the floor edge and the cabinet base and seal it with caulk.
Step‑by‑Step DIY Guide: Installing Cabinets First
- Prepare the subfloor. Clean any debris, sand uneven spots, and patch holes. Lay a 6‑mil polyethylene sheet as a moisture barrier.
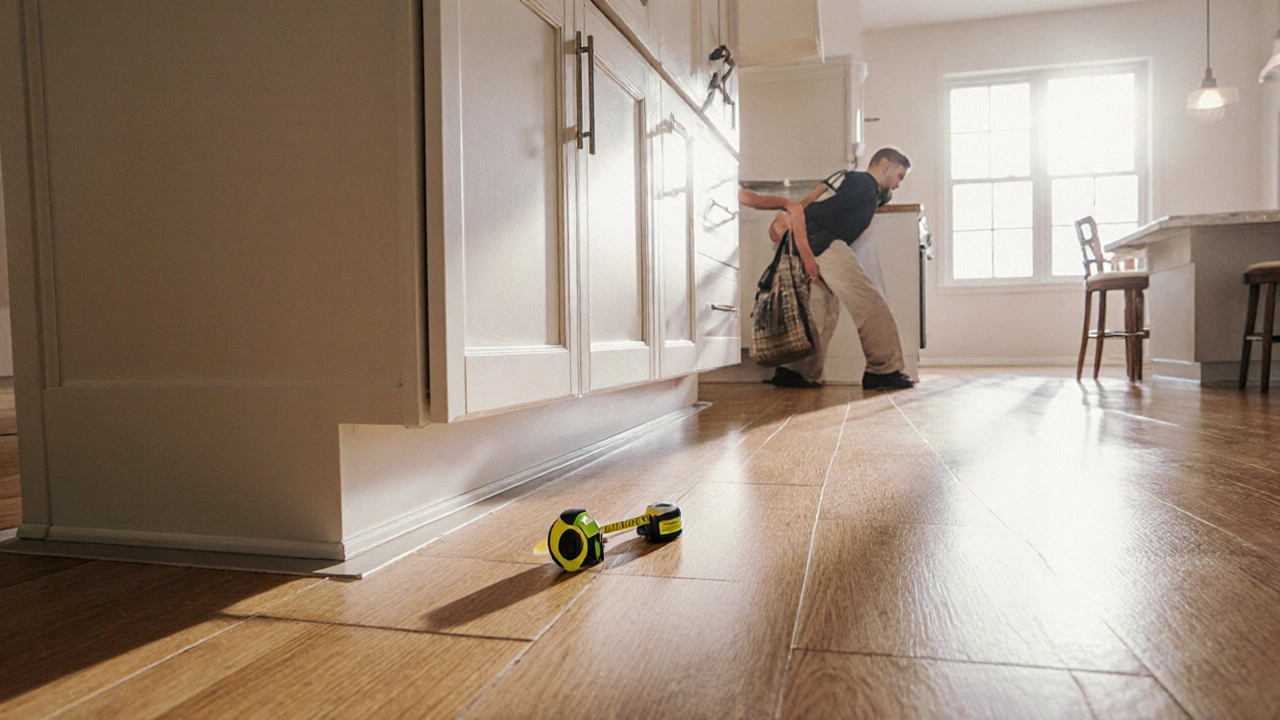
- Mark the layout. Measure from the finished wall to the cabinet face (usually 1½in from the wall to allow for backsplash). Snap a chalk line across the floor to guide cabinet placement.
- Install shims. Place thin wood shims under cabinet legs where the floor is low. Use a level to make sure the top edges are even across the room.
- Secure the cabinets. Anchor the base cabinets to wall studs using 3‑inch screws. Double‑check that the cabinets are square by measuring diagonally from corner to corner; the two measurements should be equal.
- Cut the toe kick. Measure the distance from the floor to the bottom of the cabinet and cut a 3‑in‑high toe kick board accordingly. Fit it against the cabinet and keep it aside for now.
- Lay the flooring. Starting from the far wall, lay the planks, tiles, or vinyl strips. When you reach the cabinet line, leave a ¼‑½in gap. Use a spacers or a thin piece of cardboard to keep the distance uniform.
- Trim the toe kick. Once the floor is in place, cut the toe kick board to the exact length needed and nail it to the cabinet base, covering the expansion gap.
- Seal the joint. Apply a bead of clear silicone caulk along the floor‑to‑cabinet edge. Smooth it with a finger for a neat finish.
Following these steps keeps your floor stable, protects your cabinets, and gives the kitchen a polished look.
Comparison Table: Flooring Before vs. After Cabinets
| Aspect | Floor First | Cabinets First |
|---|---|---|
| Floor movement allowance | Restricted - risk of buckling | Full expansion gap - floor can breathe |
| Moisture protection | Potential trap under toe kick | Caulked joint prevents water pooling |
| Future cabinet replacement | Cutting floor required | Simple removal of cabinets |
| Installation speed | Appears faster, but extra finish work | More steps, cleaner final result |
| Typical use cases | Tile or engineered wood with low expansion | All common residential flooring types |
Common Pitfalls and How to Avoid Them
- Skipping the expansion gap. Even a thin strip of foam or a cardboard spacer will save you from future floor warping.
- Using the wrong underlayment. A moisture barrier is a must for hardwood or laminate in kitchens; many cheap peel‑and‑stick vinyl rolls skip this step.
- Not leveling the subfloor. Small dips can cause uneven cabinet legs, leading to wobble and premature wear.
- Relying on caulk alone. Fill the gap first, then caulk. The filler (backer board or thin plywood) gives the floor something solid to push against.
Pro Tips for a Seamless Finish
- Use a laser level to confirm cabinet tops are even before you start the floor.
- When installing hardwood, pre‑finish the boards on the shop floor. This reduces the need to sand around cabinets later.
- Consider a removable toe kick made from MDF that can be unscrewed if you ever need to lift the cabinets for flooring repair.
- Document your layout measurements with photos; they become a handy reference if you need to reinstall cabinets.
Frequently Asked Questions
Can I install laminate flooring under my cabinets and then replace it later?
It’s possible, but you’ll have to cut the laminate around each cabinet edge and seal the gap with caulk. When you later replace the floor, you’ll need to remove the toe kicks and possibly redo the expansion joints, which adds labour and cost.
What spacing should I leave between the floor and cabinet base?
A gap of ¼ to ½inch works for most materials. This space accommodates seasonal movement and allows you to apply a bead of silicone caulk without squeezing the floor.
Is a moisture barrier required for tile floors?
Yes. Even though tile itself is water‑tight, the grout lines can let moisture seep through. A thin polyethylene sheet or a cement backer board with a built‑in moisture barrier helps protect the subfloor.
Do I need to remove existing baseboards before installing new cabinets?
Removing baseboards makes it easier to level the floor and place cabinets flush. You can reinstall the same baseboards after the floor is finished, or replace them with new ones for a fresh look.
What’s the best flooring type if I want to avoid expansion issues?
Engineered hardwood with a high‑density core or click‑lock luxury vinyl plank (LVP) engineered for low movement are good choices. Both can handle the kitchen environment while staying relatively stable.